Sunday, June 22, 2014

March in BC, what the heck can I grow?!?

Disclaimer: I am posting this in June because I saved it as a draft and then completely forgot to click 'publish' - I R Failz!

Its at this point in the year I start to get really garden antsy. I can look out the window and see all the green things in the yard beginning to push out of the dirt and my trowel finger starts to itch, I begin planning beds for vegetables and plants, and wordlessly beg my little indoor seedlings to start growing just a bit faster.


The picture above just about sums it up!  As soon as the weather clears up I am usually out in the garden turning soil and planting cold hardy seeds and seedlings. So, what CAN you plant in the greater Vancouver area in March? You might be surprised, quite a lot!

Vancouver is situated (based on altitude) in a zone 8, 8a, and 8b growing zone which refers to its climate zone, each zone is divided roughly into zones of plus or minus 10 degrees (for more info on growing zones please go here).  For zone 8 we known that the average annual extreme minimum temperatures 10 to 15 degress farenheit or, for all you Canucks out there -12.2 to -9.4 Celcius at its coldest. Thus, when buying seeds, pay attention to the growing zones on the back of your packaging and memorize number 8 "eight is great!"

Now that you are an expert in understanding your growing zone, we can go forth  knowing full well what can be planted in March. I have listed seeds/plants alphabetically and have only included the more common varieties of veggies, and herbs.

VEGETABLES AND HERBS:

Arugula
Asparagus Rhizomes
Basil (end of March)
Broad Beans
Carrots (Leave these till the last week in March)
Chinese Greens (all the various 'choys')
Common Sorel
Corn Salad
Endive (End of March)
Garlic
Kale and Collards
Lavendar
Lettuce
Mint (Put a clear plastic container over it for the cold nights)
Onion
Peas
Radishes
Spinach (Vancouver variety from West Coast seeds is perfect for our climate)
Thyme (Put a clear plastic container over it for the cold nights)

This is by no means a complete list, and comes from the scope of my experience only.

Happy Planting!

- Nicey

Shade Garden, June 22nd

Its the day after solstice and the weather is warm, I was up at 6am with the brightness of the sun in my eyes and immediately started thinking about my garden. Gardening for me is an obsession, especially since we have a double city lot on which our house is situated (roughly 10 thousand square feet) which has been neglected for a number of years.

Now that the veggies, fruit trees, herbs, and full sun flowers are in, I can begin the guilty pleasure of starting on the shade garden. Our house has two distinct zones (Full Shade and Full Sun), the shady portion being far more neglected than the sunny side. I can see remnants of a giant Hosta (Hosta plantaginea) bed, and there are clematis (Clematis Montana) vines planted already at the base of every tree. There is also the horrendous Bishop weed (Aegopodium podagraria)  which has completely taken over sections of the yard.

I've posted a couple pictures of the shady garden from early April


As you can see, rather unimpressive, and previously having been taken over by juniper bushes (I will regale you with another post about the damned junipers). So what did I put in the shade side of the house? To start, I decided that I would only work the yard in sections as it is the full length of one side of our lot. Today I worked on the section from the end of the rose/white flower bed (still yet to be planted) to the length of roughly 6 feet. I thought this would be easy, 6 feet isn't a lot, right?? When you are shoveling, digging, pulling weeds, raking mulch, and hitting your head on a tree it seems like eternity.

The plants that went into 6 feet of shade garden:

  • New Guinea Impatiens - about 16 of them
  • Oxalis "Iron Cross" Clover - x2
  • Coleus "Splish Splash" - x2
  • The Rocket (Ligularia stenocephala) - x1
  • Astilbe "Vision in Pink" - x1
  • Red Masterwor (Astrantia major) - x1
  • Boneset ( Eupatorium rugosum) - x2
  • Siberian Bugloss (Brunnera macrohylla) -x1
There were a few plants already in the space such as my Iris (Iris virginica), some Lily of the valley (Convallaria majalis), along with a couple maple trees. Below is a before picture of the 6 foot section which I worked on, as you can see I weeded and spread the mulch before I planted.


Below is a picture of all the lovely plants waiting to go in:


The next step was to start placing them in the space, this is important because sometimes you change the layout a few times before you start moving soil, its a pain in the butt to finish your bed and then realize you don't like the layout.


The hardest part was getting around the roots of some of the bushes and trees, I would start digging and have to alter the hole for the roots below. It all turned out in the end (with a bit of swearing, sweating, and whining).


More to come and many months to go until this sucker is done!

Enjoy your summer,
 - Nicey


Thursday, March 13, 2014

Tender Little Seedlings.

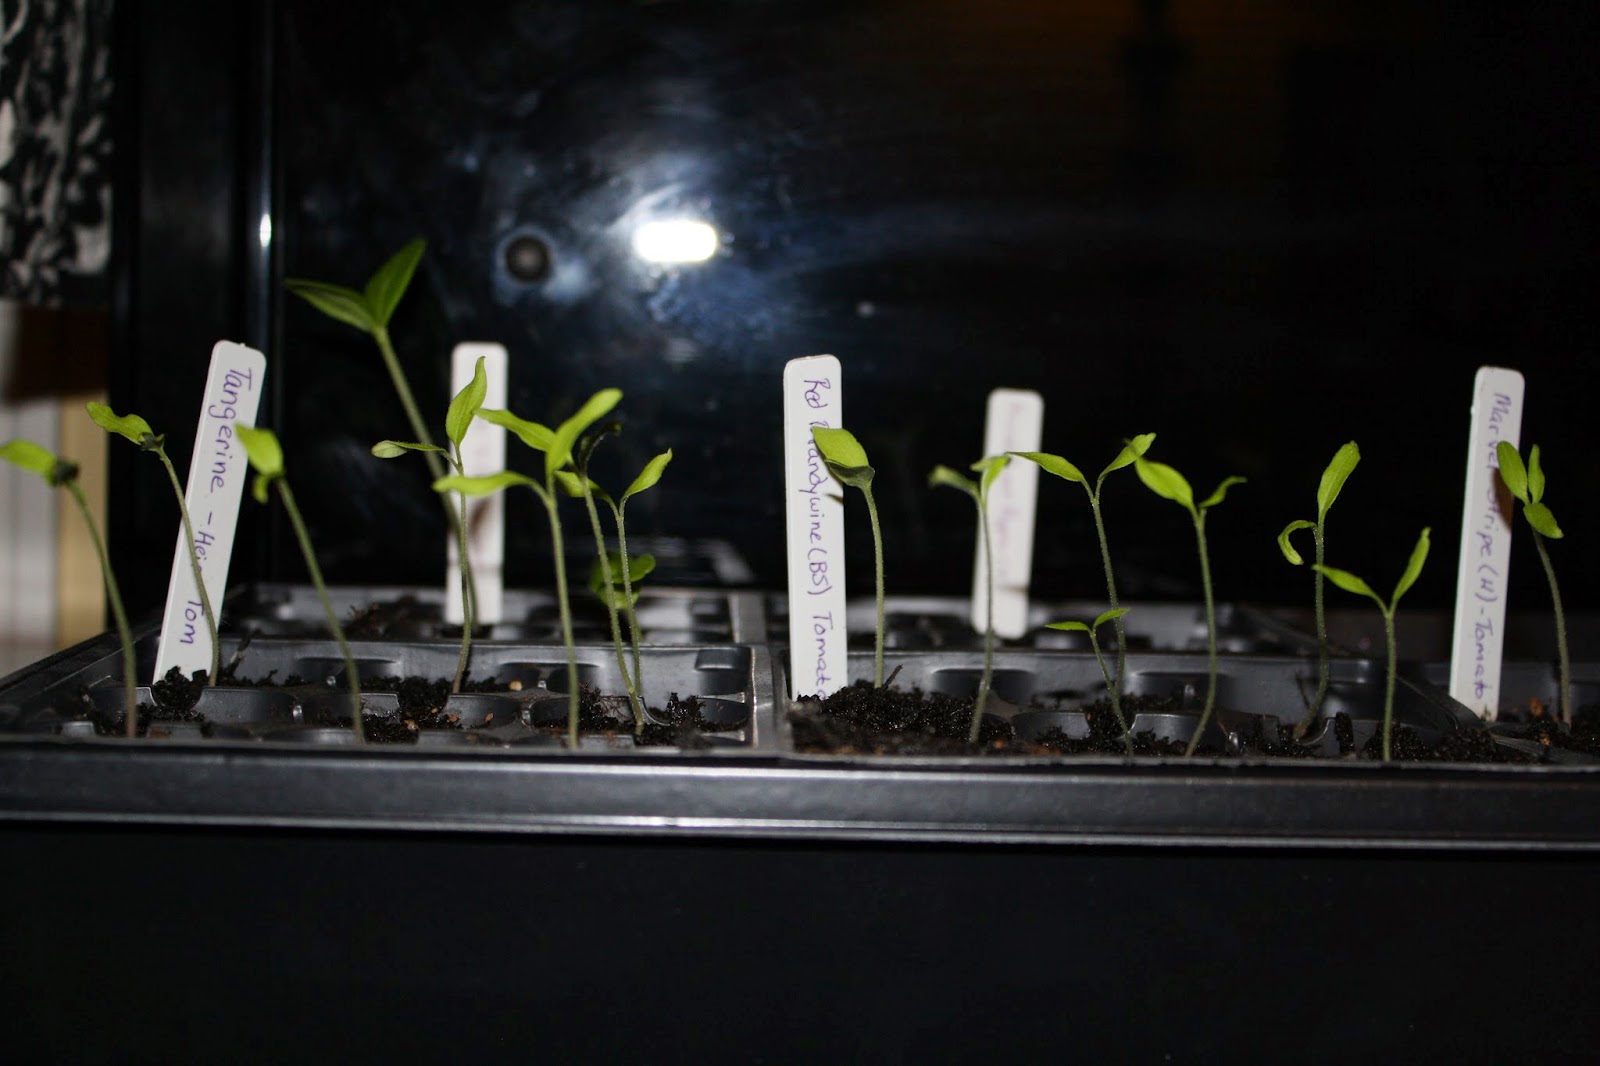
Its March! Its the time for seeds, its the time for turning the garden, for renewing your beds, and for taking a breath of relieve for we know that spring is on its way.  Around the house we have signs of spring everywhere, the crocuses are coming up, the daffodils are well on their way and the birds are starting to sing before dawn.  What this also means is that roughly three weeks ago in February I hunkered down and planted some seeds indoors and have continued to do so, allowing for those tender plants to have a longer growing season.

And what have I planted thus far? I am SO glad you asked. In February I planted Cucumbers, 4 breeds of tomatoes, Fennel, Cauliflower, Celery, Purple Basil, and Broccoli. All of the seedlings are coming up beautifully as you can see from my photos.


Slow Cooked Split Pea Soup (Gluten Free)

I love to cook, its a simple fact. I receive great joy from creating wholesome and nutritious meals which I can create with my own hands for the benefit of others. Also, I am a follower of the slow food movement - I truly believe that homed cooked and thoughtful meals feed the body and soul far more holistically than any pre-packaged food is capable of.

Today is a rainy day in lovely New Westminster, the perfect day for a slow cooked pea soup.

Cook time 1 hr. (roughly - could be more, could be less, I don't know why - its the arcane magic of cooking)

Prep Time: 2hrs (for peas to soak)

Ingredients:
2 Cups Dried Split Peas
2 Containers Chicken Broth
1 Medium Onion (Diced Small)
2 Carrots (Diced Small)
1 Tbsp Butter
1 Tbsp Olive Oil
4 Bay Leaves
Salt or Herbamare to taste
1 tsp White Pepper (Optional)
2 tsp Better than Bouillon Chicken (Optional)
1 strip of smoked bacon (Optional)


It is always best to soak your split peas in hot water. I generally soak mine for 2 hours before cooking. Don't forget to rinse them well or they will produce a foamy sludge on the top of your soup.


Once your peas are done soaking and are rinsed, let them stand and drip a bit while you gather the remaining ingredients.


Add your 1 tbsp of butter and 1 tbsp of oil to your pot, heat on med/low. Add your onions and carrots, white pepper, bay leaves and optional ingredients. Stir for 10 to 12 minutes until onions are translucent - you can add a bit of chicken broth if things start to cook too fast.


At this point, taste the reduced broth with vegetables to make certain it is to your liking, I am an avid taste tester while cooking, making certain that the balance of salts, herbs, vegetables and meats are producing the flavors that I want. Remember, staggering ingredients will layer your flavors and make some more intense, depending on your palate you may want to do this.

Once the onions are soft and the balance of your base is to your liking, add the split peas, stir all ingredients together to coat the peas, allow it to cook while being stirred about 5 to 10 minutes.


Once all ingredients are coated, add your 2 containers of chicken broth. Stir from the bottom and reduce to low heat. Cover and reduce heat to low, cook for 1 hour - check on your soup every 15 to 20 minutes, stirring from the bottom and testing for taste. The soup should be at a medium simmer for this first hour


At about the 35 to 40 minute mark you will notice that your broth has reduced - this is perfectly normal. If the flavors are becoming too intense or too salty, add a half cup of water until it is to your liking. IF by any chance you see a foam at the top of your soup, simply skim with a spoon, this is caused by the peas not being fully rinsed.

Soup will be done when the peas are mashy and soft  and fall apart into a green pea goo in your mouth, though it will be a delicious goo - Oh, and I forgot to take a picture of the finished product, oh well. Enjoy your soup!

- Nicey


Sunday, September 1, 2013

A House, a house! We bought a house!

In the excitement of moving and bringing the blog up to par, I failed to mention we finally bought a house! The home is adorable and is 103 years old (built in 1910). As with most older homes it has a few problems, but what it lacks in updated items, it makes up in charm.


I am looking forward to clearing out the yard and putting in my huge herbal garden and vegetable garden!!

Medical Herb - Yarrow

I am sure many people blog about herbs, but as a student of medical herbalism and a person who was fortunate enough to grow up with herbal medicine as a partner to western medicine, I occasionally like to share what I know.

Today I would like to talk about one of my absolute favorite herbs - Yarrow.


Yarrow's scientific name is Achillea Millefolium and is a member of the aster family, traditionally it is native to Europe and Asia. North America has a variety of the plant as well (also called Yarrow) Achillea Millefolium var. Ianulosa both varieties are completely interchangeable.

Yarrow is an absolute amazing herb and influences the circulatory system, the digestive system, and the nervous system.

Yarrow can be used in the following:
  • circulatory issues ( used as a hemostatic or normalizer of the blood and circulation)
  • hemorrhoids
  • wounds
  • bruises (associated with cuts, or bruises that have become hard)
  • fevers (acute fever, rapid pulse, sudden onset with chills)
  • digestive issues
  • provoke menses
  • menstrual cramping
  • uterine fibroids
  • headache and nosebleeds
The above items are a sample of uses, there are many more ( feel free to send me a message with questions).

The whole plant is used fresh, though the most preferred portion are the tops. The flower tops are harvested within the first couple days of blooming and dried for use in teas and tinctures (suspended in alcohol). I also enjoy using the fresh herb and grinding it into a poultice for bruises, also it works wonders as a wound cream.

As with anyone putting up info of this nature, this is not used to diagnose, treat or cure any medical issue, nor am I a Doctor.


Saturday, August 31, 2013

Apple Fritters for Early Autumn

Though summer is not technically over, its still nice to start using the bounties of the fall harvest as they become available. For me, nothing conjures up images of the fall more then apples, and specifically Jazz apples! Our local organic store has them coming in by the truck loads and I am quickly snagging them up to make apple butter, canned apple pie filling, apple jelly, and dried apples for later in the ear as snacks and oatmeal toppings.

  With the beginning of the apple bounty upon us, I wanted to share one of my favorite breakfast recipes, "Amish Apple Fritters". I don't know if they are actually Amish, but they sure are delicious!


Here is your list of your ingredients:
 
 
1 1/4 Cup of Flour
2 tsp Baking Powder
1/4 tsp Salt
2/3 Cup Milk
1 Egg
4 Grated Apples (I highly suggest Jazz apples)
Vanilla (A cap full)
Lemon Zest (to taste)


For those of you who are wheat and dairy free, this recipe works with substitutions, I like almond milk, and Toms Red Mill makes a fantastic gluten free flour.


To start, mix your dry ingredients: Flour, Baking Powder, Salt.

Put your pan on - if you have cast iron it is best. You will need 1 inch of your preferred cooking oil, I use coconut oil for all my frying. If you do not have that, try grape seed as it has a higher heat tolerance. Canola is crap for you and olive oil will burn.


Next, grate your apples and set them aside.


Once your dry ingredients are properly mixed (by hand or by blender), slowly add your wet ingredients: Milk, Egg, Apples, Vanilla, Lemon Zest.

Make sure there are no doughy lumps, your batter will be a little runny which is fine, it will stiffen up once it hits the heat of the griddle.


Spoon large table spoon amounts of dough onto your hot griddle and fry on each side until golden (generally about 2 to 3 minutes, be careful to check your center, it should be cooked all the way through.


Once the fritter is done, place them on a plate lined with paper towel, sprinkle with sugar while they are still hot.

Let them cool just a bit and enjoy with a cup of English breakfast tea, or beverage of your choice!

Happy Eating!
-Nicey