I had a recent problem with my "Fall Cabbage" this problem being that they were suppose to be ready for harvest in August/September and not in the middle of July. The cabbage I have growing in my garden is an organic heritage variety known as Copenhagen Market which makes a really beautiful and large head! If you are friends with me on facebook you have seen these two photos before.
These are my fine cabbages before they were fine sour Kraut, you can see the garden in the background, I am standing in front of a heritage corn called crystal corn and in the middle are some really big zucchini. But I digress...back to the cabbage! The idea of making sauerkraut is not a foreign one to me, I've been making it with my family since I was a little girl, the only problem was, I was used to making it in September/October when the weather was cooler and fermentation took roughly 30 days. Knowing the temperature difference put me into a little bit of a panic so I went to my favorite homesteading forum on the web which is www.permies.com (I highly suggest you check it out!). I was able to get some help from a lovely lady in Atlanta who makes kraut all times of year, the rule for fermentation was this:
- 1 day of fermentation per every 10 degrees above the freezing zone (35 to 37 Fahrenheit, not enough to completely freeze, but enough to keep fermentation slow)
- Ingredients:
- Cabbage
- Salt
Here is a photo of some of the cabbages, as you can see they were so large and over ripe that some cracked! I was able to cut off the brown edges and then slice them fine for the kraut.
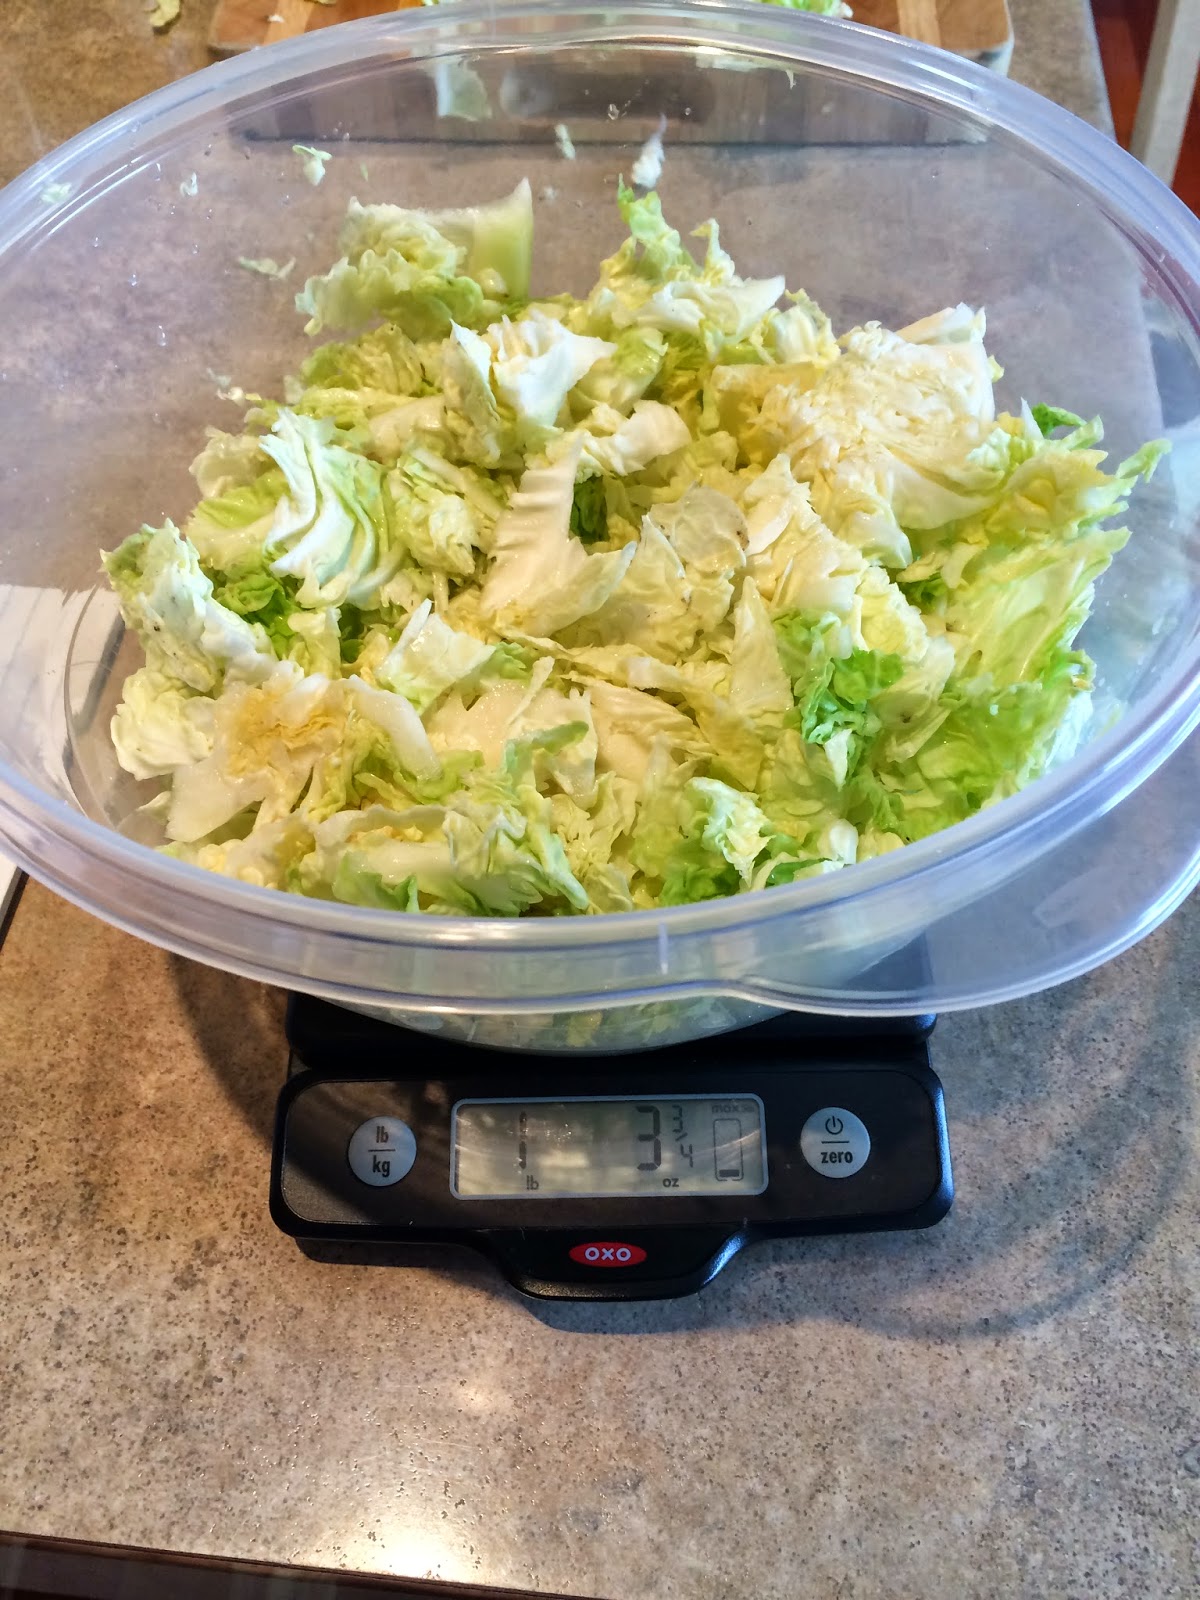
The next step was a pretty important one, weighing the kraut AFTER it is cut up. You can use a digital or regular kitchen scale and don't forget to first weigh your vessel so that you can subtract it from each weight measurement.
I divided all the fresh sliced cabbage into 1 lb. increments, put it into the stone crock and then added 2 tsp. of salt. The salt I used was raw Celtic sea salt, this is a far better alternative to iodized salt as it has all of its nutrients and minerals in tact.
- 1lb of Cabbage ='s 2 tsp. of salt.
At this point you take a masher and begin to pound your 1 lb. of cabbage with your 2 tsp. of salt, the masher is usually wood with an X shape, flat panel with holes drilled into it, or in my case, a triangle that does not fill the entirety of the bottom. The goal in pounding the holy living begeez out of your cabbage is to cause a chemical reaction in which enzymes are released and are mixed with the salt, thus starting the fermentation process. Each lb. of cabbage needs to be pounded until liquids are released. After this you add each additional lb. repeating the same action. When all the cabbage is in you continue with the mashing until fluid can rise over the top.
Allow for me to demonstrate!
As one can tell, I am a bit off my rocker, but I DO love cabbage. Once your fluid is over your cabbage you will want to get it ready for the fermentation process. At this point I take a clean piece of cheese cloth and lay it over the top of the cabbage, followed by a plastic bag to cover all the edges. Next I take a large 1 gallon zip lock bag and fill it with water, placing it on top to give weight and to keep pressing the cabbage down. And finally a thick kitchen towel to keep it all snug.
Keeping in mind the temperature I left it for about 5 days in my dark pantry (I like mine to be very krauty tasting). Please keep in mind that if you make kraut in the fall the time for fermentation will vastly increase, in cold temperatures it can take as much as 30 days.
Here is a photo of my finished product:
Please note: Sometimes a mildew will form at the top while you are fermenting your cabbage, please do not fear the mold, simply scrape it off and toss it out, then dip your greedy little hands into the vile smelling mix and taste of the glorious fruits of your labors! If you leave it too long it will taste a bit off, if its not done it will taste like salty cabbage - remember, you are going for that pickled and fermented taste that we all love so very...very much.
Once your cabbage is done you can place it into appropriate sized jars for keeping. Remember, you will want to sterilize your jars in boiling water for 5 minutes and wash your rims and lips in hot soapy water. Fill your jars leaving 1/4 inch for head room and making certain that you are packing the kraut down so that the liquid covers all the cabbage. When this is through you will need to secure the lids and process the jars in a boiling water bath for 20 to 25 minutes.
Your Kraut will keep for a year + in your cupboard.
Enjoy!
- Nicey <3


No comments:
Post a Comment